Window tinting is more than just a stylish addition to your car; it offers privacy, UV protection, and heat reduction. In this guide, we'll walk you through the step-by-step process of installing window tint on your car for a seamless and professional-looking finish.
Materials Needed
Before diving into the installation process, gather the necessary materials. Here's what you'll need:
- Quality window tint film
- Window cleaner or soapy water
- Lint-free cloth or sponge
- Utility knife or precision cutting tool
- Squeegee
- Heat gun or hair dryer
- Microfiber cloth
8. Spray bottle
Step 1: Prepare the Surface
The key to a successful window tint installation is a clean and dry surface. Begin by thoroughly cleaning the inside of your car windows. You can use a lint-free cloth or sponge and a mixture of window cleaner or soapy water to remove any dirt, grease, or debris. Before moving to the next step, make sure your windows are completely dry.
Step 2: Measure and Cut the Tint Film
Measure the windows you plan to tint. Unroll the tint film on a clean, flat surface with the film's adhesive side facing up. Using the measurements, cut the film with a utility knife or a precision cutting tool, leaving an extra inch on each side to allow for adjustments during the installation.
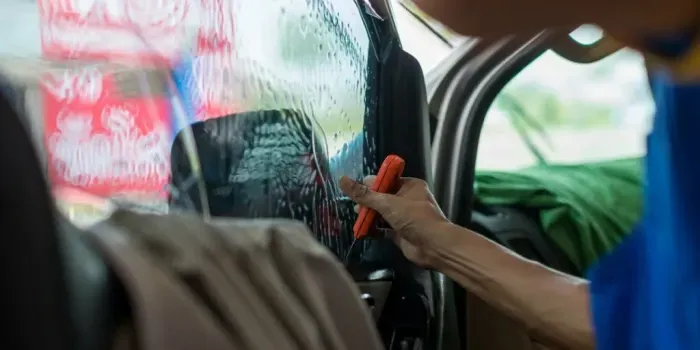
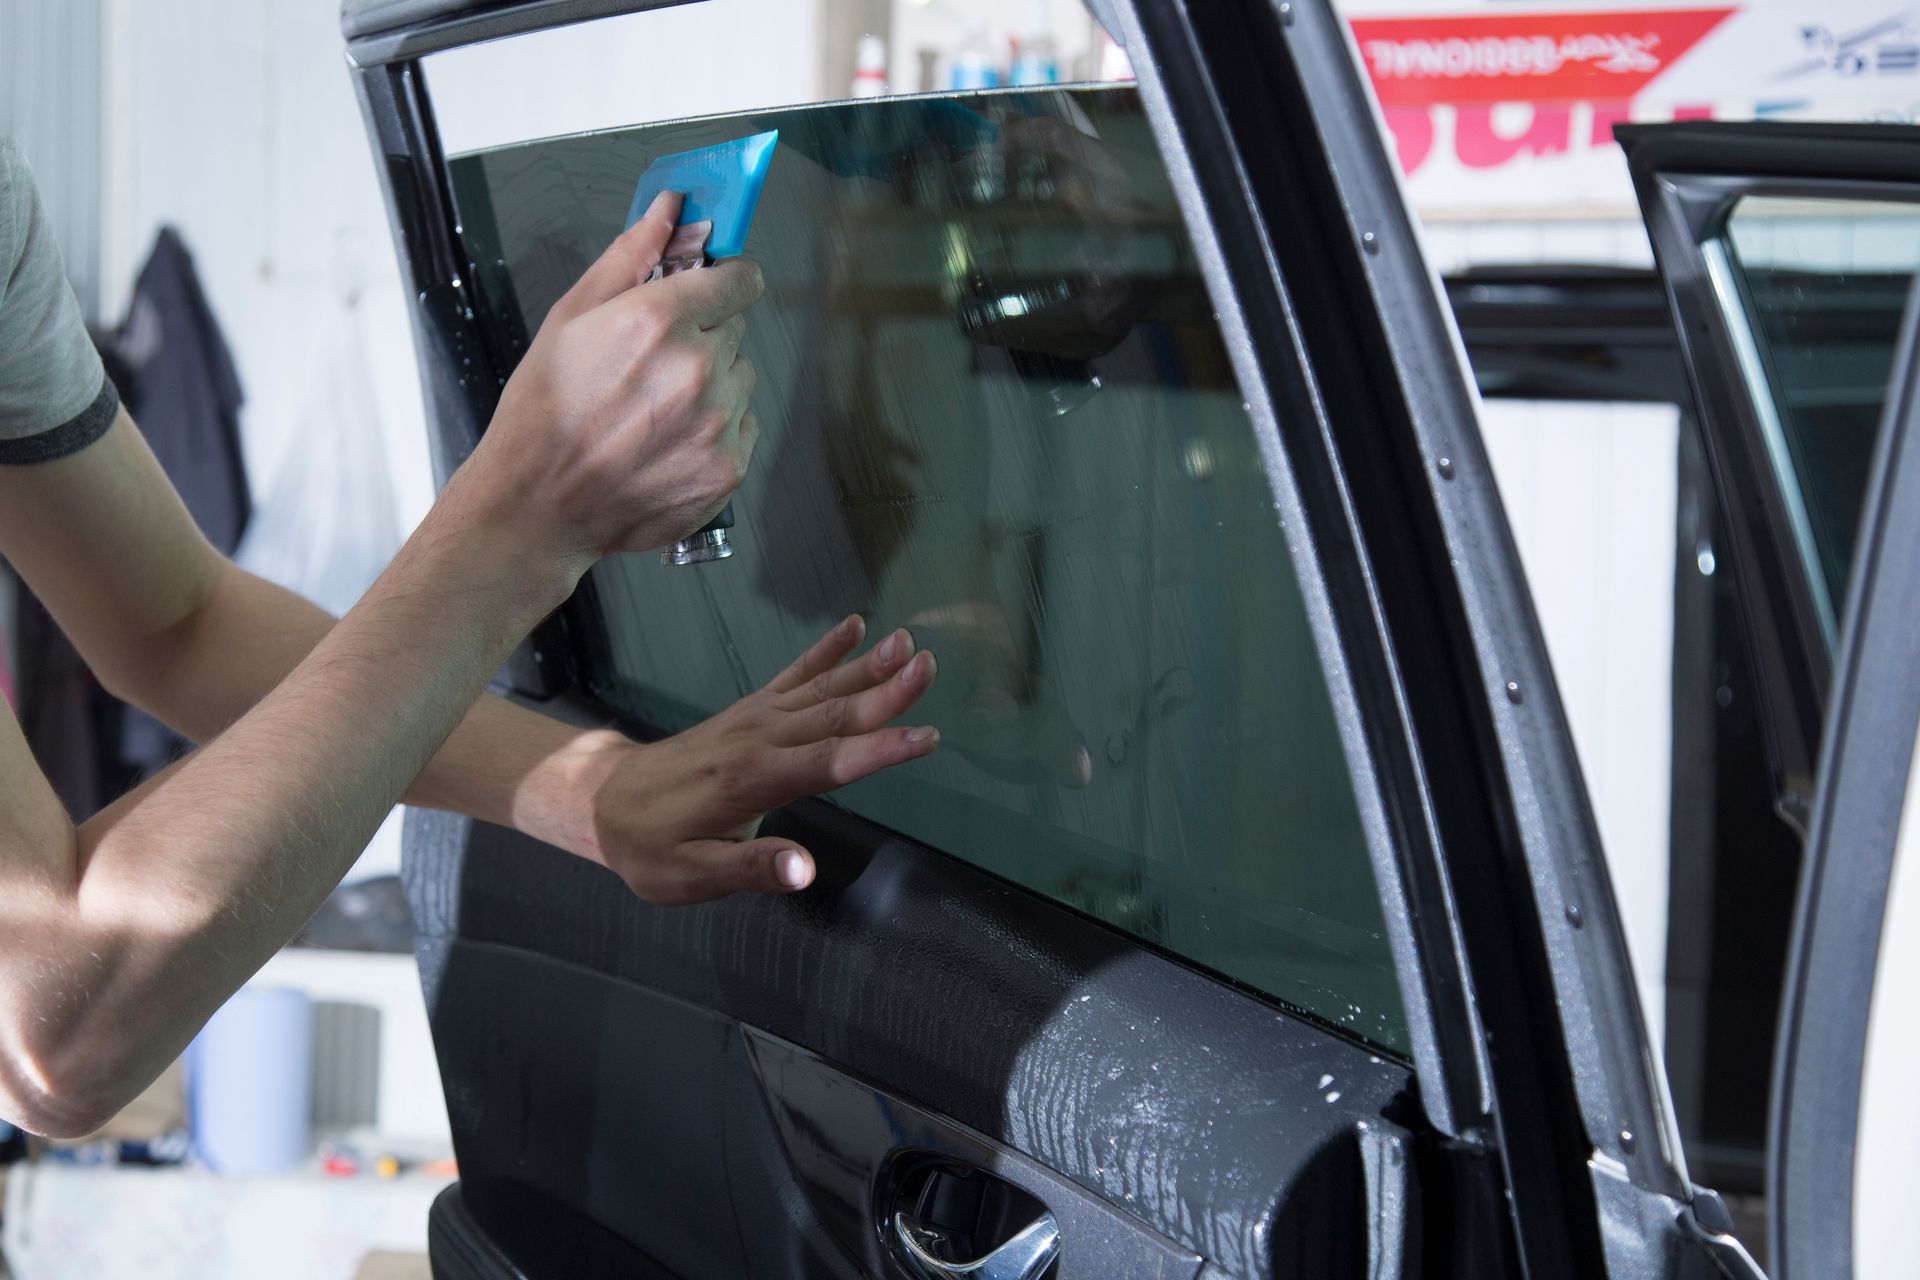
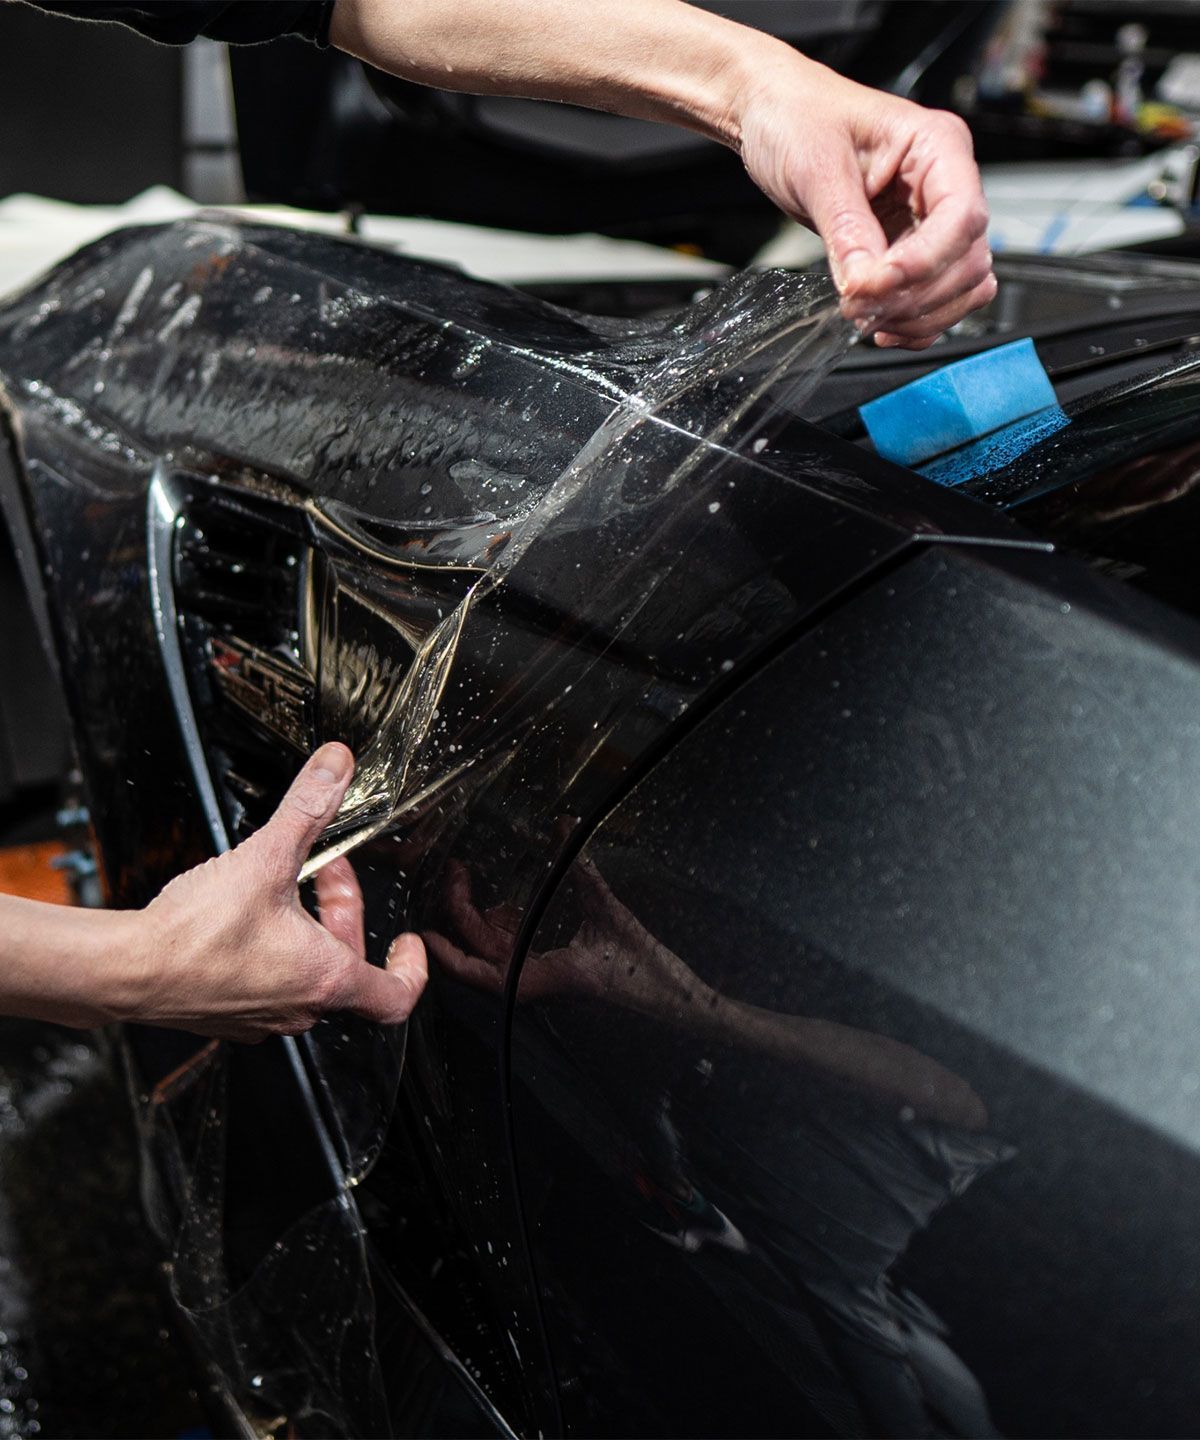
Step 3: Apply the Tint Film
Now comes the tricky part – applying the tint to the window.
Follow these steps for a smooth application:
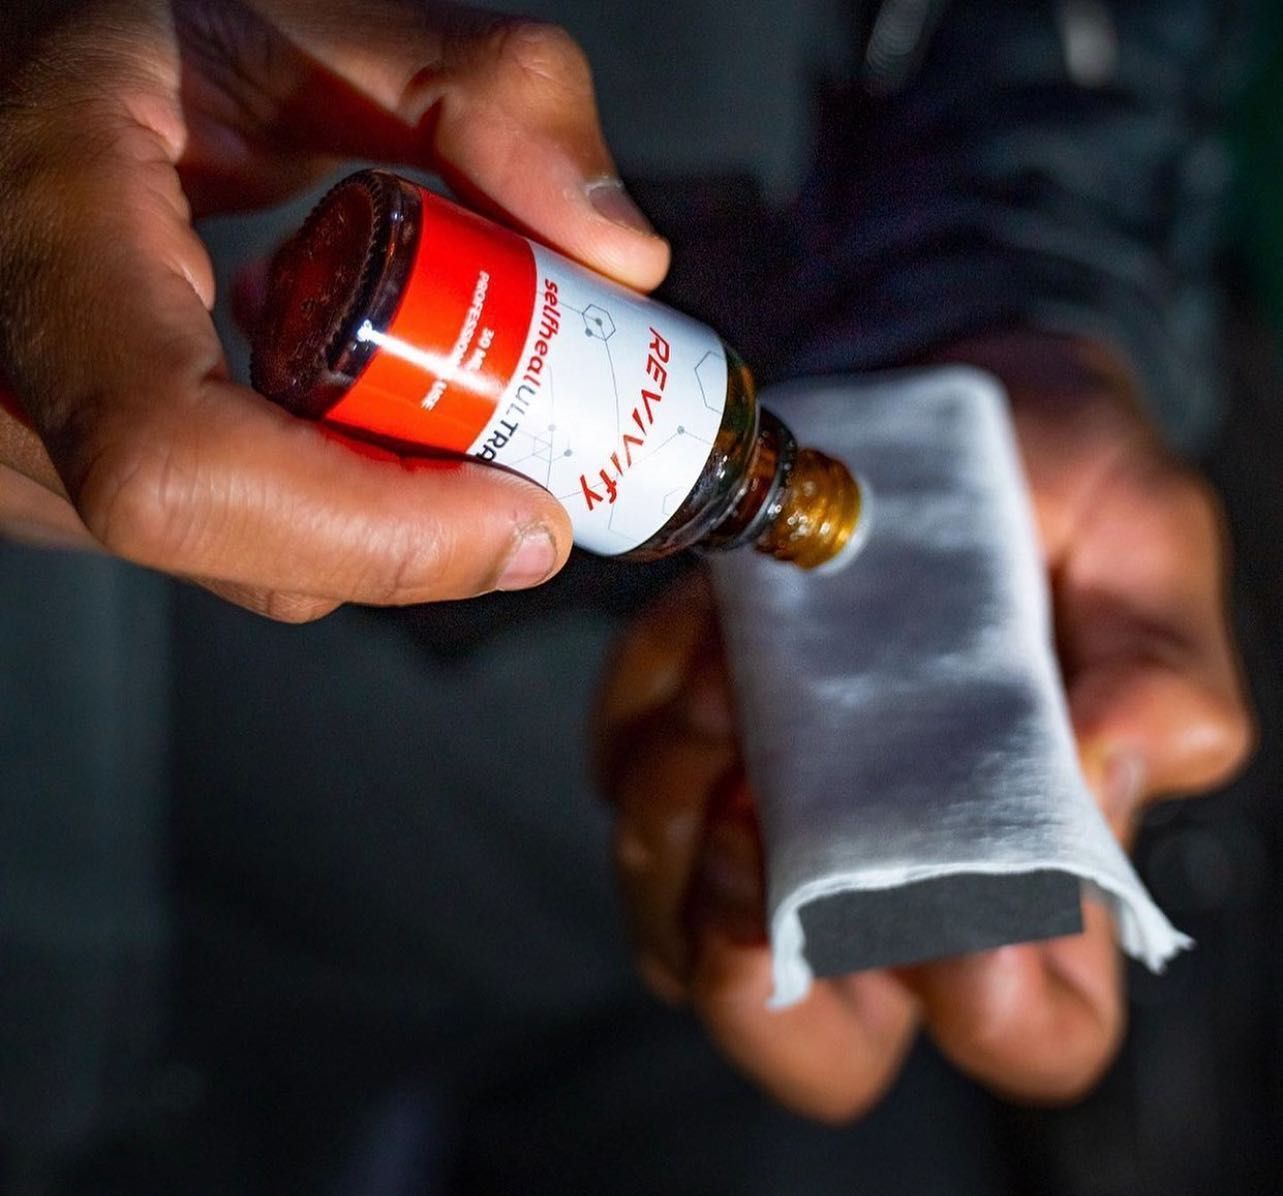
- Peel off a few inches of the film's backing to expose the adhesive side.
- Lightly spray the adhesive side of the film with a soapy water or window cleaner solution.
- Position the film against the interior of the window, ensuring that there's enough excess on all sides.
- Slide and adjust the film until it aligns with the edges of the window.
Step 4: Squeegee Out Bubbles and Excess Water
With the tint film in place, use a squeegee to press out any air bubbles and excess water. Start from the center and work your way towards the edges for a smooth and even application. This step is important for a flawless finish, so take your time and be thorough.
Step 5: Trim Excess Film
Using a sharp utility knife, carefully trim the excess film from the edges of the window. Having a sharp knife helps avoid tearing or uneven cuts. Trim along the window's edge for a clean and professional appearance.
Step 6: Heat Shrinking and Final Adjustments
To remove any remaining wrinkles or bubbles, use a heat gun or hair dryer. Apply heat evenly to the tint film, starting from the center and moving towards the edges. This helps the film conform to the shape of the window. Continue using the squeegee to press out any remaining bubbles.
Step 7: Final Cleaning and Inspection
Once you’re happy with the application, give your tinted windows a final cleaning. Use a
microfiber cloth and a solution of water and a mild detergent to wipe down the interior of the windows.
Tips for a Successful DIY Window Tint Installation:
- Patience is Key: Take your time at each step to for a precise and polished finish.
- Work in a Controlled Environment: Choose a clean, dust-free area to unroll and cut the tint film, minimizing the risk of debris getting trapped between the film and the window.
- Use Ample Soapy Water: The soapy water solution acts as a lubricant, making it easier to position and adjust the tint film.
- Avoid Overheating: While the heat gun is important, avoid using too much heat. This can damage the tint film. You should also maintain a safe distance and use a moderate heat setting.
- Seek Professional Advice: If you're uncertain about any step, watch online tutorials or seek advice from professionals. Some tint manufacturers also provide detailed instruction manuals which you can have a look at.
DIY vs Professional Window Tint Installation
DIY or professional installation? Each has its pros and cons. DIY is budget-friendly and satisfying, but demands precision.
Professional services bring expertise and guarantee quality, though at a higher cost. But it’s mostly worth it - saves you a lot of time and energy.
Conclusion
Installing window tint on your car yourself can be a rewarding DIY project. By following these step-by-step instructions and tips, you can achieve a professional-looking finish that adds to the aesthetics and functionality of your vehicle.
However, don't be discouraged if your first attempt isn't flawless. With a bit of patience and attention to detail, you'll be cruising with confidence behind your newly tinted windows. Remember, practice makes perfect!
Let the Professionals Do What They Do Best
If a DIY project isn’t up your alley, don’t worry! Champion Window Tinting installs the best window tint film products in town. From cars to office windows, we tint it all!
Based in Cornelius, we're perfectly positioned to offer certified
window tinting services to our valued clients in Huntersville,
Mooresville,
Davidson, and Charlotte in North Carolina.
Contact us today for a free quote!
The body content of your post goes here. To edit this text, click on it and delete this default text and start typing your own or paste your own from a different source.
Articles from the Champion Window Tinting Blog
Champion Window Tinting Services